
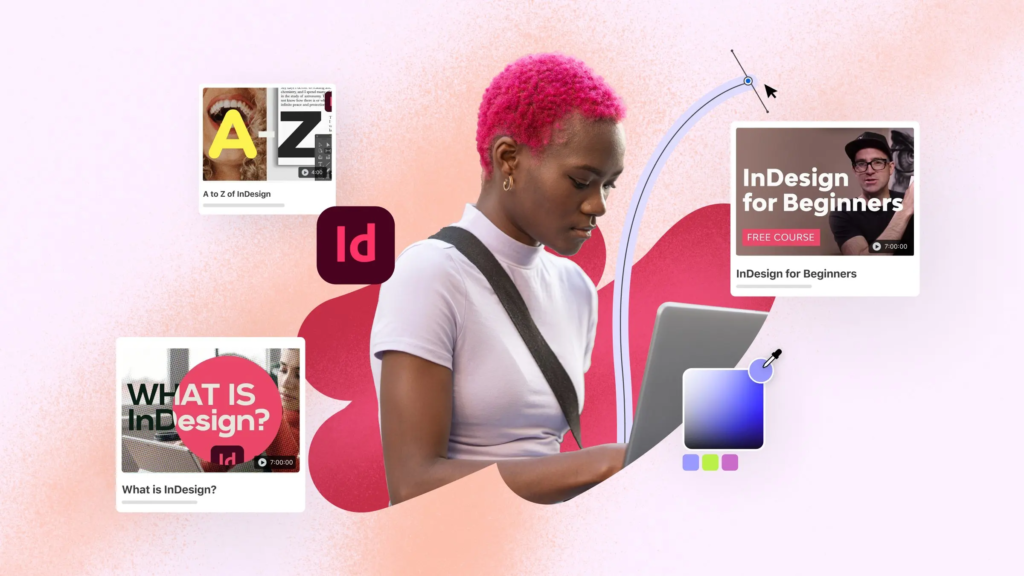
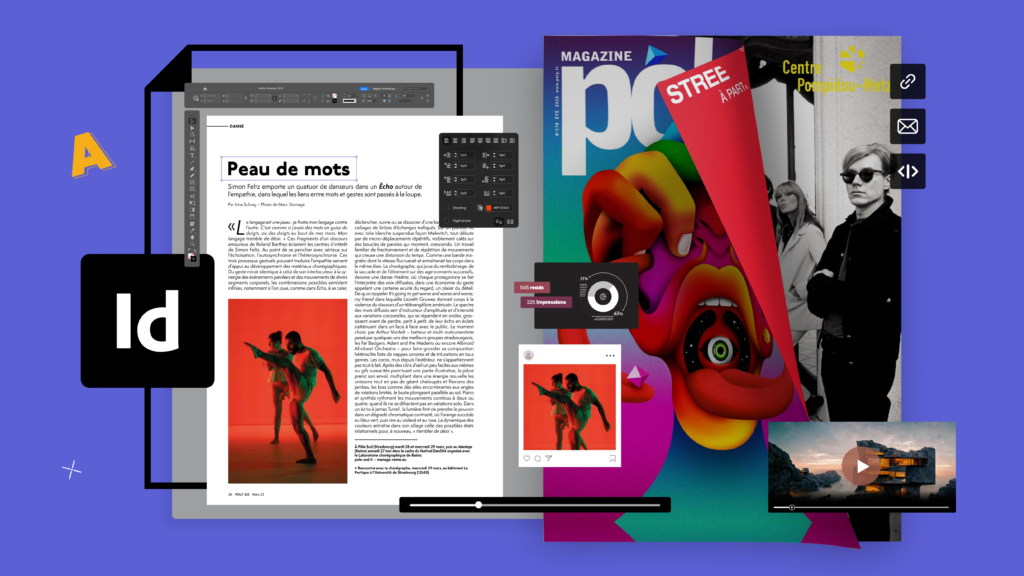
Adobe InDesign is one of the most powerful layout design tools available today. Whether you’re creating magazines, brochures, books, or digital PDFs, mastering InDesign can significantly elevate the quality of your work. While it may look intimidating at first, learning the right workflow and professional techniques can make InDesign both efficient and enjoyable to use.
This step-by-step tutorial will guide you through using Adobe InDesign like a professional, even if you’re still building confidence with the software.
Step 1: Understand What InDesign Is Best Used For
Before diving in, it’s important to understand where InDesign truly shines. InDesign is designed for multi-page layouts and structured documents. Unlike Photoshop or Illustrator, it excels at handling typography, alignment, and consistent layouts across multiple pages.
Professionals use InDesign for:
- Magazines and newspapers
- Books and eBooks
- Flyers, brochures, and posters
- Reports, portfolios, and presentations
Knowing this helps you approach each project with the right mindset and tools.
Step 2: Set Up Your Document Correctly
Professional results start with proper document setup.
When creating a new document:
- Choose the correct page size (A4, Letter, custom size)
- Set margins to keep content readable and balanced
- Add bleed if the design will be printed
- Decide on the number of pages and page orientation
Taking time to configure these settings prevents costly mistakes later, especially for print projects.
Step 3: Learn to Use Master Pages Efficiently
Master Pages are one of the biggest time-savers in InDesign. They allow you to apply consistent elements across multiple pages, such as headers, footers, page numbers, and background graphics.
To use Master Pages like a pro:
- Create a master page with repeating elements
- Apply it to multiple pages at once
- Override individual elements only when necessary
This ensures consistency and keeps your document organized.
Step 4: Work with Text Frames Like a Professional
Text is at the heart of most InDesign projects. Instead of placing text randomly, professionals rely on structured text frames.
Key practices include:
- Linking text frames so content flows smoothly across pages
- Using paragraph and character styles instead of manual formatting
- Maintaining proper spacing and alignment
Styles allow you to change fonts, sizes, or colors across the entire document instantly, which is essential for large projects.
Step 5: Use Paragraph and Character Styles
One of the biggest differences between beginners and professionals is the use of styles.
Paragraph styles control:
- Font size and type
- Line spacing
- Alignment and indents
Character styles control:
- Bold, italics, or color changes within text
- Special formatting for emphasis
By relying on styles, your document stays consistent, clean, and easy to update.
Step 6: Place and Manage Images Correctly
InDesign does not embed images the same way other Adobe programs do. Instead, it links to them.
Best practices include:
- Always use high-resolution images for print
- Keep all linked images in one project folder
- Check the Links panel regularly to avoid missing files
This approach keeps file sizes manageable and ensures better performance.
Step 7: Align and Organize with Grids and Guides
Professional layouts look clean because they follow structure. InDesign’s grids and guides help align elements perfectly.
Use:
- Baseline grids for consistent text alignment
- Column guides for balanced layouts
- Smart Guides for quick alignment
These tools ensure your design looks intentional rather than random.
Step 8: Use Layers to Stay Organized
As projects grow, layers become essential. Layers allow you to separate text, images, backgrounds, and guides.
Professional designers:
- Name layers clearly
- Lock layers to avoid accidental edits
- Hide layers when focusing on specific elements
This keeps complex documents easy to manage.
Step 9: Proof and Preflight Your Document
Before exporting, professionals always check their work.
Use the Preflight panel to identify:
- Missing fonts
- Low-resolution images
- Overset text
- Incorrect color modes
Fixing these issues early prevents printing or publishing problems.
Step 10: Export Files the Right Way
Exporting incorrectly can ruin an otherwise perfect design.
For print:
- Export as PDF (Print)
- Use CMYK color mode
- Include bleed and crop marks if required
For digital use:
- Export as Interactive PDF
- Optimize for screen resolution
- Enable hyperlinks and interactive elements
Choosing the right export settings ensures your design looks exactly as intended.

Latest iPhone Rumors 2026: Features, Release Date, and What to Expect
As we move into 2026, the rumor mill around Apple’s next iPhone is already heating…

Honor 400 Smart Complete Guide: Pros, Cons & Who It’s For
The budget smartphone market is crowded, but every once in a while, a device comes…

Is T-Mobile Down Right Now? Live Outage Status and User Reports
If your phone suddenly shows no signal, calls won’t go through, or mobile data feels…

Latest Smartphone 2026: Full Specs, Features, Price & First Impressions
The smartphone market in 2026 is packed with strong contenders from every major brand, each…

How to Choose the Best Mobile Network for Your Needs
Choosing a mobile network is no longer just about making calls and sending texts. Today,…

How to Use Adobe InDesign Like a Pro: Step-by-Step Tutorial
Adobe InDesign is one of the most powerful layout design tools available today. Whether you’re…
Final Thoughts
Learning how to use Adobe InDesign like a pro is less about memorizing tools and more about developing a smart workflow. When you focus on structure, consistency, and preparation, your designs naturally improve. With practice, these steps will become second nature, allowing you to work faster, smarter, and with greater confidence.
This tutorial is intended for educational purposes only. Adobe InDesign is a registered trademark of Adobe Inc., and this content is not affiliated with or endorsed by Adobe. Software features and interfaces may vary depending on the version used.
#adobeindesign #graphicdesign #layoutdesign #designtutorial #printdesign #digitaldesign #designworkflow #creativeprofessionals #Anslation #Carrerbook